Now that I've worked through the individual steps, time to bring it all together, check that there aren't any harsh transitions (generally best to check as one goes along) and prepare file for printing.

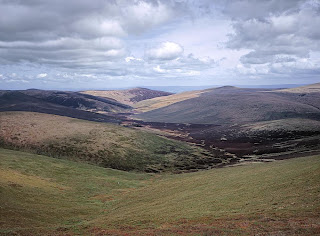
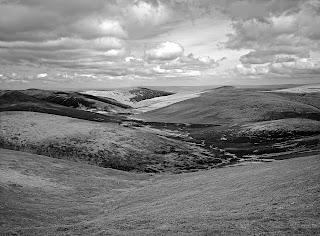
When I look to produced black and white images, I always look to start from a good (or finished) colour interpretation. Personally I find it much easier to think especially of contrast and relative balance in colour. The black and white conversion is then about tuning the shadows & highlights (dodge, burn, USM contrast adjustment) and final sharpening. For this last step, I will have turned off sharpening from the colour image if it was used, and redo for black and white. In this case I used a few zones for conversion but less than the colour adjustments. In this case 3 areas: sky, foreground, the rest.
Sky is converted with an orange filter, foreground with a magenta and the rest with a yellow filter. Each picked for its positive effect on contrast and brightness.
Here's the result:
Sky is converted with an orange filter, foreground with a magenta and the rest with a yellow filter. Each picked for its positive effect on contrast and brightness.
Here's the result:

So there you have it, the anatomy of an image. It has also been useful for me to write it all down as that helps cement in my mind the reasons why I am doing certain things and keep it focussed (instead of wandering off trying all the buttons).


No comments:
Post a Comment
I like comments, especially constructive ones.
Comments get emailed directly to me before publishing , so if you want to get in touch drop a comment.
All comments moderated by me before being published, keeps the spam at bay.